
Let’s face it: the kitchen is the heart of the home, but it often ends up cluttered.
If you’ve ever opened a cabinet and had plastic lids fall out, you’re not alone. I’ve been there too, which is why I started looking for practical and attractive ways to keep things organized.
Today, I’m sharing some of my favorite kitchen organization ideas that combine style with real-life usefulness. Grab a cup of coffee, get comfortable, and let’s turn your kitchen into a calm, organized space.
1. Start with the “Empty-Out” Method
Before buying any organizing bins, it helps to know what you have. I suggest clearing your countertops and emptying your cabinets one section at a time.
It might look messy for a little while, but this is when things start to improve. Sort your items into three piles: keep, donate, and toss.
Be honest with yourself. If you haven’t used that avocado slicer or the big margarita machine in the past year, it’s time to let someone else enjoy it.
2. Think in “Functional Zones.”
A common mistake is organizing by item type instead of by activity. Instead of just placing things wherever they fit, try setting up zones based on how you use your kitchen.
Here is a simple breakdown of the zones I love to set up:
- The Prep Zone: Keep your cutting boards, mixing bowls, and prep knives right under your main counter space.
- The Cooking Zone: Store pots, pans, wooden spoons, and cooking oils right next to the stove.
- The Coffee & Tea Zone: Group your mugs, coffee maker, sugar bowl, and spoons together in one cute little corner.
- The Cleaning Zone: Keep dish soap, sponges, and trash bags neatly tucked under the sink.
Organizing by zone helps your kitchen flow better and makes cooking easier.
3. Embrace the Magic of Clear Acrylic Bins
If you want a clean, stylish look, clear acrylic bins are a great choice. Since they’re see-through, you can quickly see what you have without searching.
Use them in your pantry for snacks, in your fridge for produce, or under your sink for sponges. They look neat and instantly improve any cabinet.
4. Double Your Space with Under-Shelf Baskets
Are you making use of the vertical space in your cabinets? Many of us have unused space at the top of our shelves.
Slide-on under-shelf baskets can help with this. They attach to your shelves and add an extra layer of storage.
They’re great for storing smaller items like tea boxes, foil rolls, or cloth napkins.
5. Decant Your Dry Goods for Instant Visual Calm
It’s satisfying to open a pantry and see matching jars instead of different boxes. Decanting just means pouring your dry goods into similar containers.
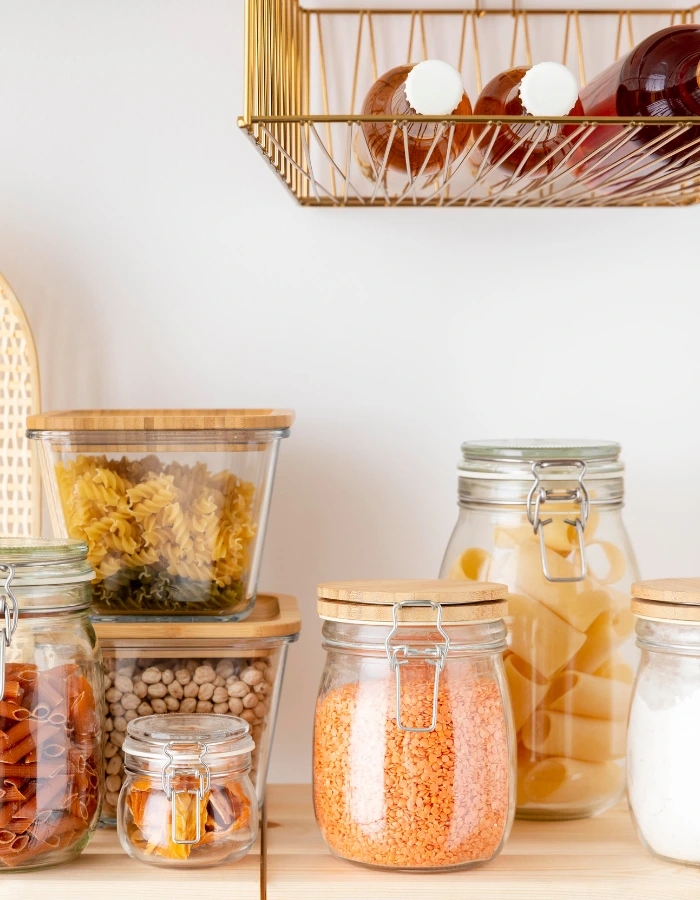
Here is how to make this look beautiful and function well:
- Use glass jars with bamboo lids for a warm, organic modern feel.
- Stick to airtight plastic containers if you have kids who might drop them.
- Add minimalist, water-resistant labels so everyone knows the difference between flour and sugar.
- Write the expiration date on the bottom of the jar with a dry-erase marker.
This simple step reduces visual clutter and helps keep your food fresh longer.
6. Maximize Corners with a Lazy Susan
Deep corner cabinets often become places where items get lost. Many of us have misplaced a jar of sauce or a can of beans in a corner shelf.
A lazy Susan is an easy solution. These rotating trays make it simple to reach everything with a quick spin.
I love using them for spices, oils, vinegars, or even condiments in the fridge.
7. Hang Your Mug Collection on a Pegboard
If you’re low on cabinet space but have an empty wall, a DIY pegboard is a great, affordable project. You can paint it to match your kitchen for a coordinated look.
Hang your favorite mugs, copper measuring cups, and even small frying pans from sturdy hooks.
It frees up cabinet space and also serves as useful wall decor.
8. Use Tension Rods to Hold Baking Sheets
Storing baking sheets and cutting boards flat often leads to clattering. Instead, try storing them upright.
You can buy expensive wooden dividers or use cheap tension rods.
Place a few tension rods vertically inside a cabinet to create slots for your cookie sheets, cutting boards, and muffin tins. They’ll stay upright and are easy to grab.
9. Create a Stunning Countertop Tray Station
While it’s best to keep countertops clear, some items need to stay out. To avoid clutter, group them together on a nice tray.
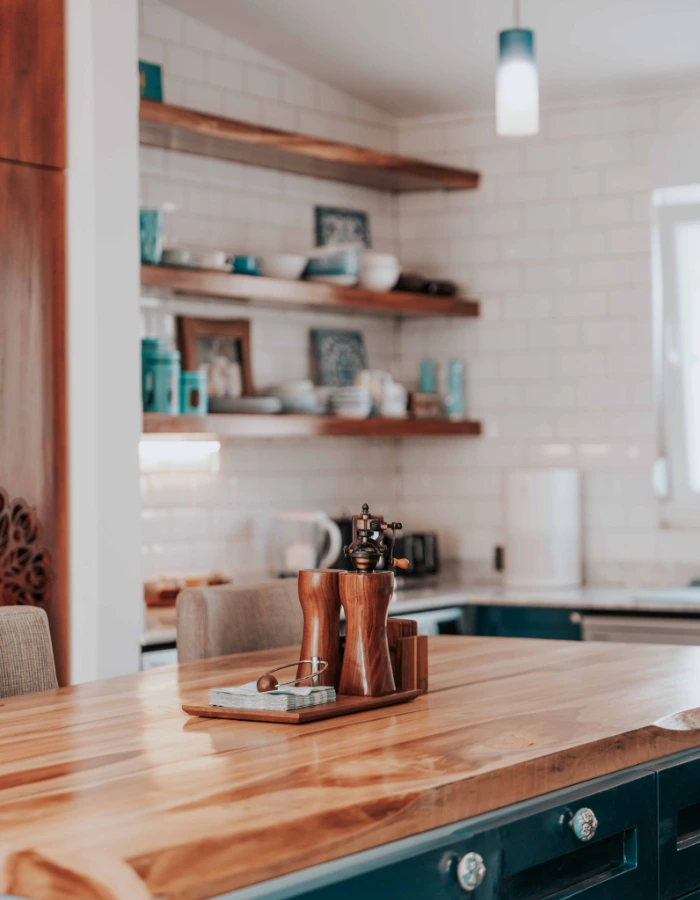
Find a gorgeous round wooden board or a marble tray to place next to your stove.
Arrange your olive oil, salt, pepper, and a small vase of herbs on the tray. This keeps things tidy and makes your essentials look organized.
10. Opt for Drawer Dividers Over Cluttered Utensil Cups
Large utensil jars on the counter can look nice, but they often collect dust and grease. I prefer to keep my everyday utensils in a drawer, as long as they’re organized.
Adjustable bamboo drawer dividers are fantastic for this.
They keep your spatulas, whisks, and tongs separated, so you don’t have to search through a messy drawer while cooking.
11. Elevate Your Sink Area with Amber Glass Bottles
Dish soap bottles from the store are often brightly colored and can disrupt the look of a clean sink.
Instead, pour your dish soap and hand soap into matching amber glass pump bottles.
Place them on a small wooden riser with a scrub brush. This setup looks stylish and costs less than fifteen dollars.
12. Utilize the Inside of Cabinet Doors
When you need extra storage, check the back of your cabinet doors. This space is often overlooked.
Mount lightweight organizer racks to store your spices, pot lids, or aluminum foil boxes.
Under the kitchen sink, you can hang a small adhesive bin on the door to hold your dishwashing pods or grocery bags.
13. Group Your Fridge Items in Styled Zones
An organized fridge can be just as satisfying as an organized pantry. The key is to treat your fridge shelves the same way as your cabinet shelves.
Group similar items together in clear, easy-to-clean bins.
Keep all your cheeses in one bin, your condiments in another, and drinks lined up neatly. Not only does this look amazing, but it also helps prevent food waste because you can actually see what you have before it goes bad.
14. Keep Your Food Storage Lids in Check
No kitchen organization list is complete without addressing the food storage container drawer. It can really test your patience.
First, recycle any containers without a matching lid.
Next, use a plate rack or a lid organizer to store lids vertically by size. Stack the containers inside each other to save space.
15. The “One In, One Out” Rule
Once your kitchen is organized, you’ll want to keep it that way. The easiest way is to follow the “one in, one out” rule.
If you buy a cute new mug, you need to donate an old one.
If you get a new blender, donate the old food processor. This habit helps keep your kitchen organized.
You can do this!
Remember, organizing your kitchen isn’t about making it look like a sterile museum. It is about creating a space that feels calm, supports your daily life, and makes you happy when you walk in to make your morning coffee.
Take it one cabinet at a time, enjoy the process, and celebrate the small wins along the way. Happy organizing, sweet friend!